· projects · 7 min read
Arduino Discord Controller
Controlling Discord using a combination of Arduino, BetterDiscord, and Python.
An anecdote
I’m a big fan of flight simulation, and one thing I have always found immensely cool is the massive DIY scene. I’m amazed by the sheer scale of some home made cockpits and the amount of work that goes into making one of them.
My all time favourite is definitely The Warthog Project, dedicated to building an A-10C Thunderbolt II ‘Warthog’ Flight Simulator. As an electronics nerd, I highly recommend watching the creator’s YouTube channel to see how it is being made.

Front of the cockpit, taken from thewarthogproject.com.
Copyright © 2022 The Warthog Project.
Backlighting, taken from thewarthogproject.com.
Copyright © 2022 The Warthog Project.On the other hand, I’ve made some of my own flight controllers, but they’re nowhere near as grand 😅.
Simple throttle levers using the Leonardo.
Nevertheless, I love working on small electronics projects like these, and one of my primary motivators to make them is usually some minor inconvenience. Which then usually results in the following:

The minor inconvenience
I spend a good chunk of my time on Discord, and the process of self-muting can be very annoying.
My keyboard doesn’t have any macro keys, which means I have to permanently sacrifice one of my normal keys for muting. This will then inevitably annoy me if I hit the key while doing everyday things, and have to listen to the cacophony of mute noises while I type.
Choosing the key for the job is also hell. These are all of the available options:
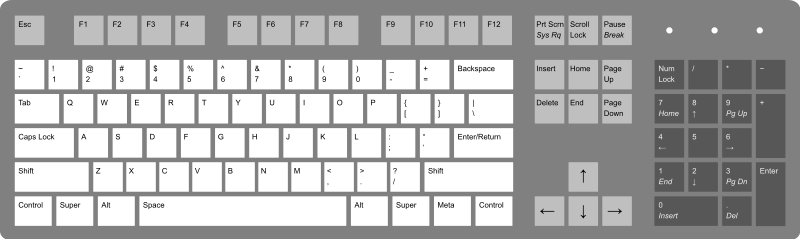
Diagram by Rumudiez,
taken from Wikimedia Commons. Licensed under CC BY-SA 3.0.These are my requirements:
- Within easy reach of left hand, so I can hit it while in a game.
- Can’t be a letter or number, since I use those normally.
- Can’t be SPACE, CTRL, SHIFT, TAB, or TILDA since games use them.
- Can’t be the Windows key or CAPS LOCK, cause that’s annoying.
- Can’t be a combination e.g. CTRL+A, cause that’s tedious.
That leaves LEFT ALT, which is sadly used by Arma 3, which I play a lot.
Mind you, I could just buy a different keyboard, or deal with a combination. But again, think back to that xkcd comic.
There is also the problem of not knowing if I’m muted e.g. I could mute, walk away, come back after a while, and then proceed to talk for several minutes without realizing I’m muted.
There are some solutions that can help in this regard e.g. the Discord overlay, however I personally find it annoying, that is if it even works in the first place. This solution is pretty cool, however it still requires keys that are far away.
The solution
So, I needed something that satisfied the following:
- Lets you mute and deafen easily and quickly.
- Shows if you’re currently muted or deafened.
- Cheap
- Small
The Arduino is perfect for this; it is cheap, small, and you can easily add some buttons and LED’s for the main functionality.
However, I decided to use a small TFT shield instead, as they are quite cheap and you can just stick it on the Arduino and not have to worry about wires etc. I personally went for an Arduino Uno as it is about the same size as the shield, and I had one laying around.
You could use something like a Leonardo if you wanted easy HID support, but TFT shields are usually designed for the Uno so that’s what I went with.
After calibrating the display and getting the right library (see this for details) the only thing left to do was the programming.
The programming
I decided on three main elements for the project:
- Discord
- Python
- Arduino
Discord
Since I needed to get information from Discord, I decided to create a BetterDiscord plugin. This is the simplest solution I could think of, apart from reading network packets or something. I could use a Discord bot, but that wouldn’t work for all servers.
Discord uses something called FluxDispatcher to listen for and dispatch events internally, I use it in my plugin to listen for the following:
// Dispatched if user connects/disconnect from voice channel
FluxDispatcher.subscribe('RTC_CONNECTION_STATE', this.wsSend);

// Self explanatory
FluxDispatcher.subscribe('AUDIO_TOGGLE_SELF_MUTE', this.wsSend);
FluxDispatcher.subscribe('AUDIO_TOGGLE_SELF_DEAF', this.wsSend);
To send this information to the Arduino I would need to communicate with it over serial, however I did not want to deal with figuring out how to do that, without any NPM packages, in Electron. So, I decided to just set up a WebSocket server using Python and have Discord send information to that.
Python
I decided to use asyncio, pyserial, and websockets. This way, I could run a WebSocket server and communicate over serial at the same time.
Since websockets uses asyncio, I can just listen for a message:
async for message in websocket:
    try:
        parsed = json.loads(message)
        logging.info("ws received: " + message)
        serial_message = None

        # ? Cant use switch here

        # SYN initializes everything
        if parsed["type"] == "SYN":
            # Set the user's discord id and current voice settings to global
            USER_ID = parsed["userId"]
            INITIAL_VOICE_SETTINGS = parsed["initialVoiceSettings"]

            # Create response to send to discord, mostly just a formality
            response = json.dumps({"type": "ACK", "userId": USER_ID, "initialVoiceSettings": INITIAL_VOICE_SETTINGS})

            local = INITIAL_VOICE_SETTINGS["local"]
            # Form the Arduino message
            serial_message = "<#S{}{}{}>".format(int(not local["mute"]), int(not local["deaf"]), 1 if INITIAL_VOICE_SETTINGS["currentVoiceChannelId"] else 0)

            logging.info("responding to SYN with: " + response)

            # Send websocket message to Discord
            await websocket.send(response)
            # Send serial message to Arduino, pyserial doesn't use asyncio
            await asyncio.get_event_loop().run_in_executor(None, serial_send, serial_message)
    # ...
The serial server is pretty much just an infinite loop that waits for an Arduino message. It then forwards that command to Discord.
if SERIAL.isOpen():
    logging.info("serial server listening...")

    while True:
        if SERIAL.in_waiting > 4:
            logging.info("serial receiving bytes...")
            serial_message = await loop.run_in_executor(None, serial_read)
            logging.info("serial received: " + serial_message)

            if serial_message[2] == "P":
                await loop.run_in_executor(None, serial_send, "<#P1>")
            else:
                await WEBSOCKET.send(json.dumps({"type": "SERIAL", "data": serial_message}))
Here are some typical logs:
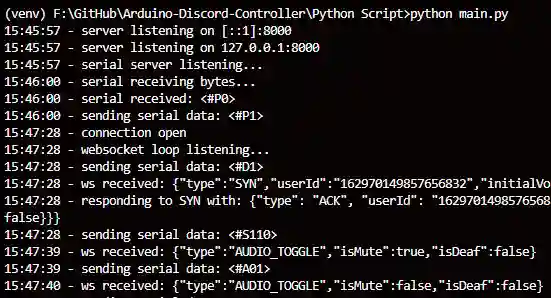
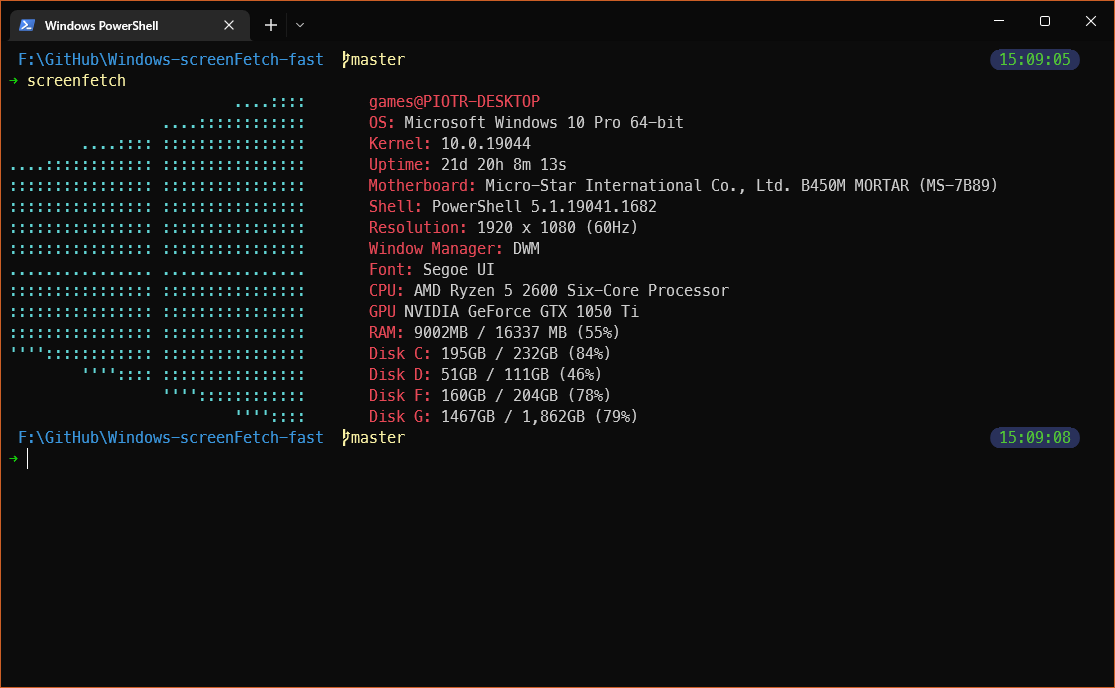
Python log.
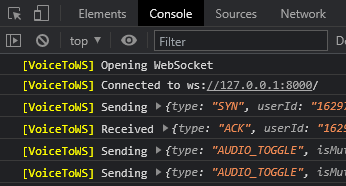
Discord log.
Arduino
To actually communicate with the Arduino I decided on a simple protocol, it looks like this:
            // Arduino, → means sent, ← means received

// ...      // Serial communication starts
→ <#P0>     // Arduino boots, starts asking for connection
→ <#P0>
→ <#P0>
// ...
← <#P1>     // Response received, Python script accepted
// ...
← <#D1>     // Discord connection to Python established
← <#S110>   // Initial state received, [mic: on, sound: on, in vc: no]
// ...      // (Indicator lights are set accordingly)
// ...
→ <#M0>     // Arduino mic button pressed, attempt to mute mic
← <#A01>    // Audio state changed, [mic: off, sound: on]
// ...      // (Indicator light on Arduino can now change)
// ...
→ <#M1>     // Arduino mic button pressed, attempt to un-mute mic
← <#A11>    // Audio state changed, [mic: on, sound: on]
// ...
→ <#H0>     // Arduino head button pressed, attempt to deafen
← <#A00>    // Audio state changed, [mic: off, sound: off]
// ...      // (Deafen causes mute as well)
First, every message is encapsulated with <> to indicate the start and end. This is much faster to send and parse since the Arduino knows exactly when to stop instead of, for example, waiting for a newline.
The # indicates what I like to call a command, followed by the type of command and then the data. All of this is described in the Serial.h file.
The Arduino pretty much just sits around waiting for a command or press:
// If bytes waiting to be read
if (Serial.available()) {
      // If first character is '<'
      if (Serial.read() == PROTOCOL_START) {
        // Read until '>'
        int charsRead = Serial.readBytesUntil(PROTOCOL_END, buffer, sizeof(buffer) - 1);

        // If character after '<' is '#'
        if (buffer[0] == COMMAND_START) {
          switch (buffer[1]) {
            // If next character is 'A'
            case COMMAND_AUDIO_TOGGLE:
              mic_btn.setState(buffer[2] - '0'); // char to int
              head_btn.setState(buffer[3] - '0');
              break;

              // ...

// If button pressed, do little animation
update_button_list(buttons);

mic_btn.checkIfPressed();
head_btn.checkIfPressed();
connected_btn.checkIfPressed();
If a button is pressed, it just prints to serial:
DiscordButton::issueCommand(char type, bool state) {
// I know this isn't very efficient, I'm just lazy
Serial.print("<" + String(COMMAND_START) + String(type) + String(state) + ">");
// e.g. '<#M0>'
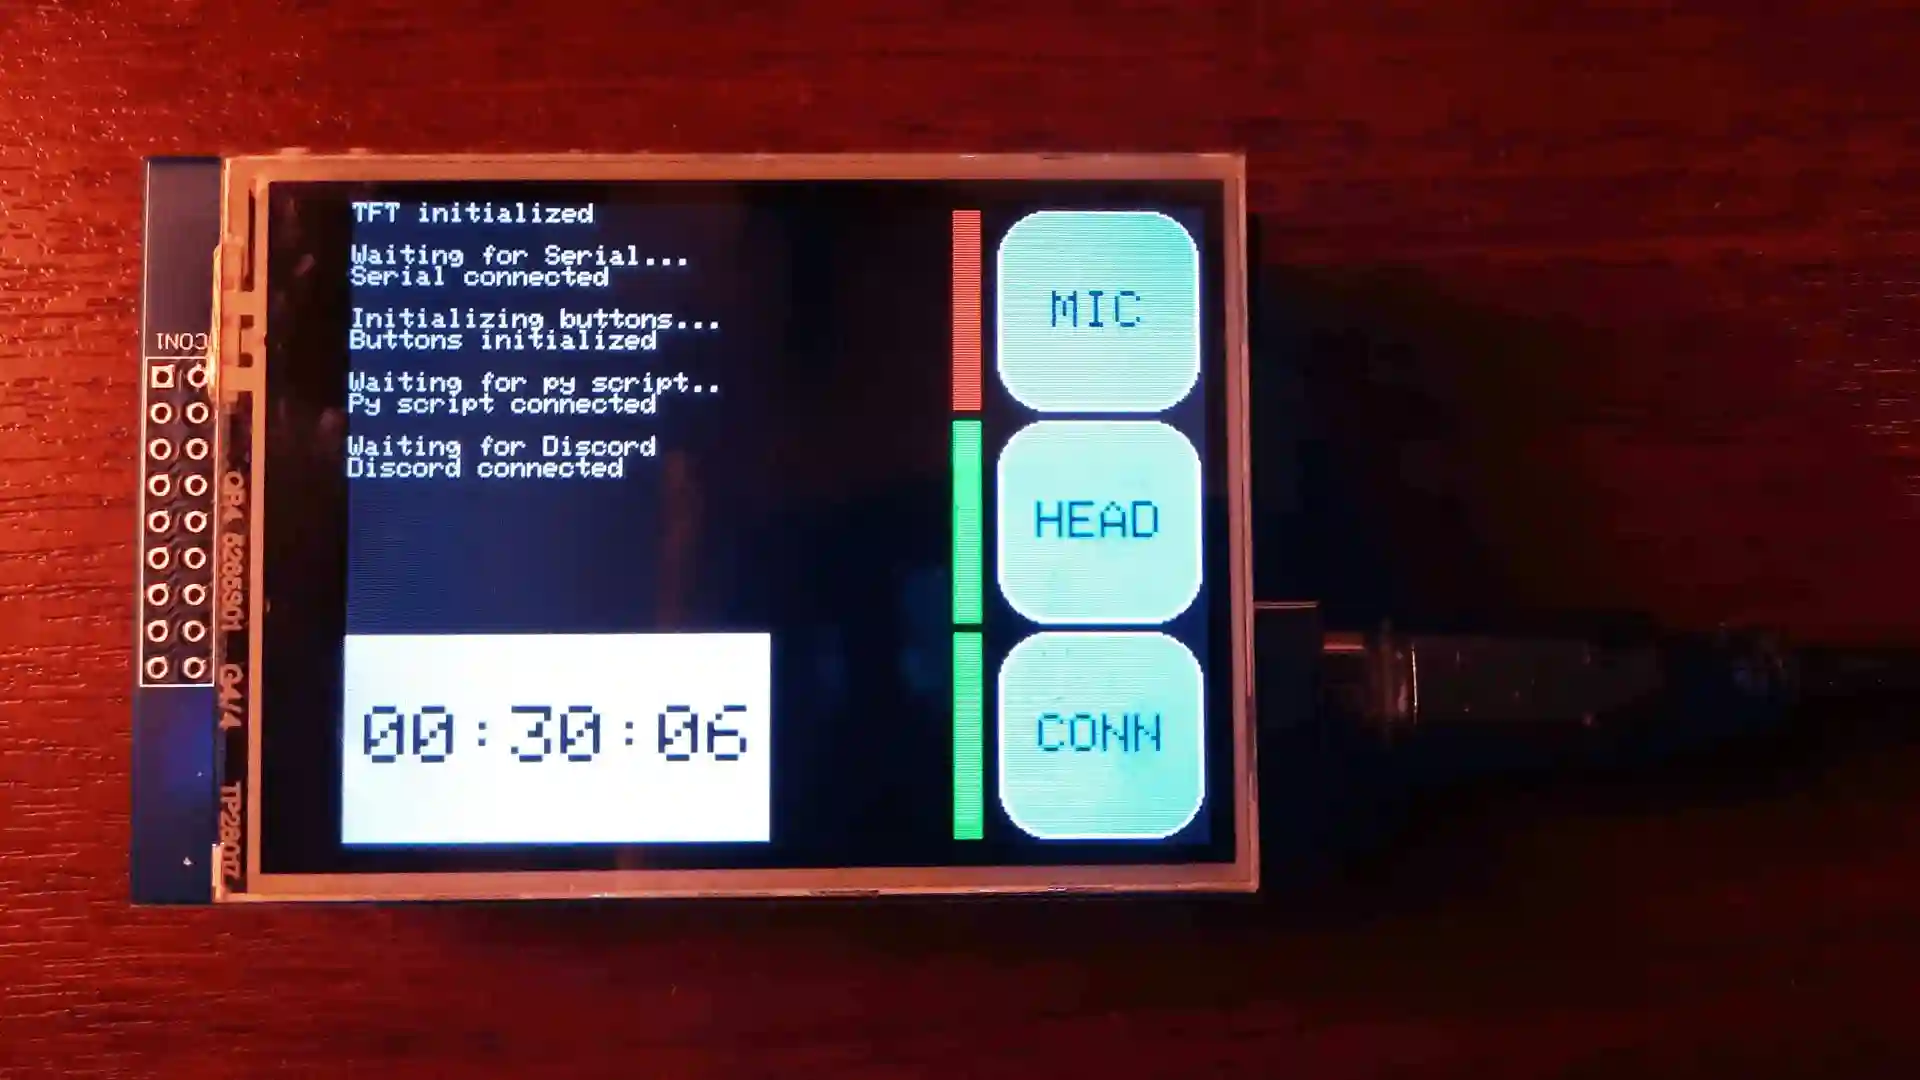
}The final product
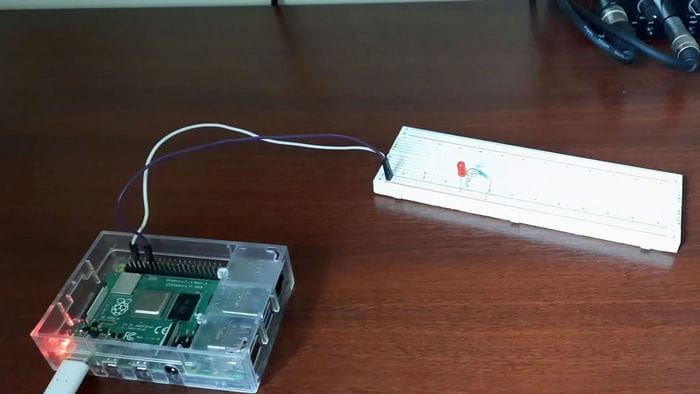
Here is the result!
Where can I get the code?
Here is the GitHub repo, it also has more detailed instructions on how to set everything up!